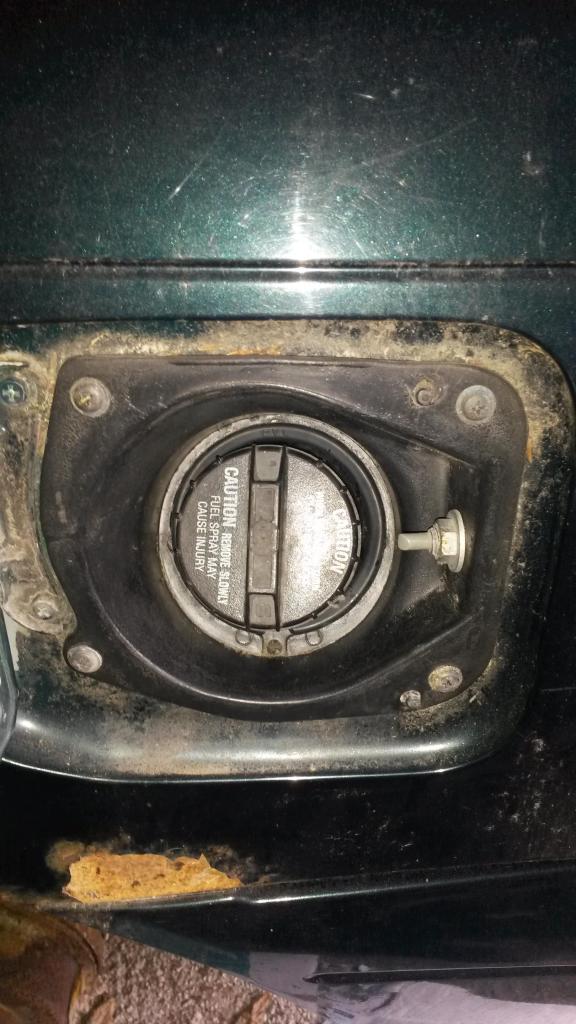
Almost Forgot: First thing is to spray everything in the best penetrating/loosening lubricant you can get. I used PB blaster over a cpl days (hate that stuff, stinks)
I bought a "new" car which is in decent shape for 800$, or so I thought. When it came time to put fuel in, I noticed I had a slight to moderate gas leak from my rusty filler neck (collected like 200mLs of gas from leakage). So I decided it needs to be replaced.
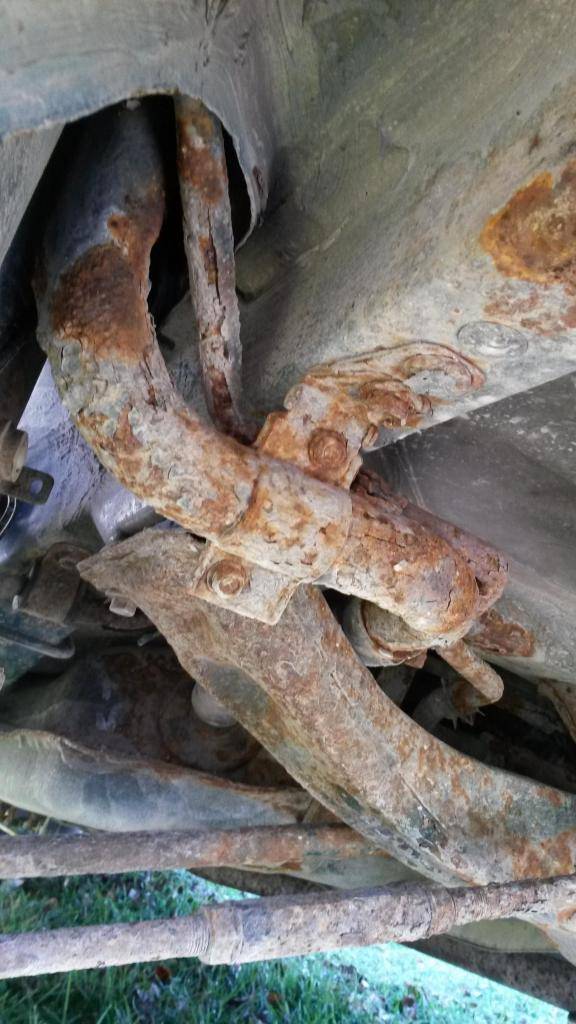
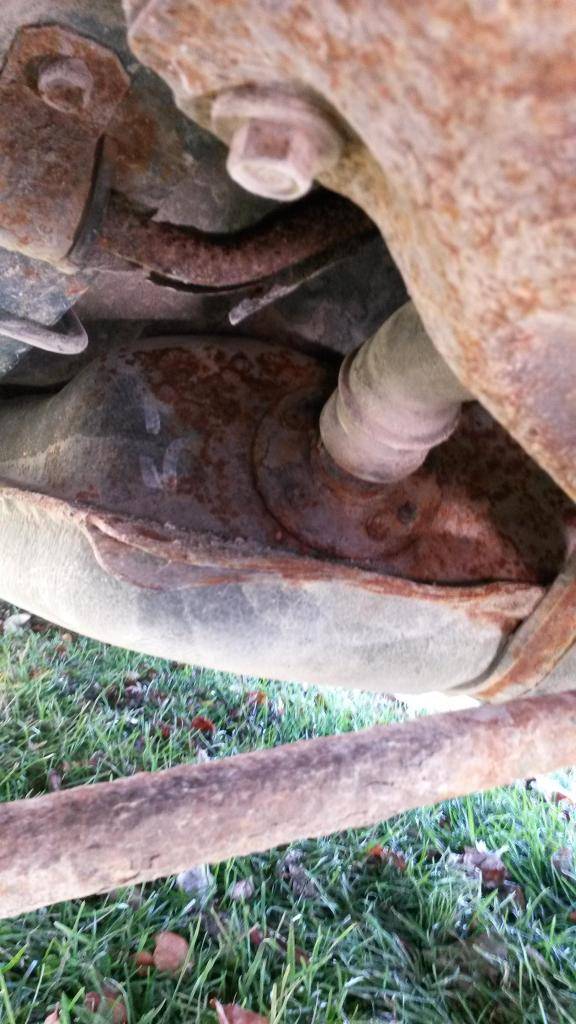
So yea, not very pretty, or very safe. Its coming out. This is before I put gas in. when I put in about 4-5$ gas (thank god i didnt fill it), it seemed to leak around the bracket that holds the filler neck to the frame rail.
and if you really need to use your car or move it like I did just to start the engine, you can get all kinds of stuff to temporary stop the leak such as,: gas tank and radiator repair putty or alluminum all weather ducting tape (not too sure if thats an approved method). anywho, I got my filler neck the next day so was kinda a waste of tape and time lol.


Purchased from ebay for just over 50$ shipping included and I got it in 3 days

But before the part came in I was able to remove the little vent tube (which was never connected to the tank in the first place). It was so rusted I used a combo of a hacksaw blade and a pair of bolt cutters to just crunch the rusted metal and ripped it out.
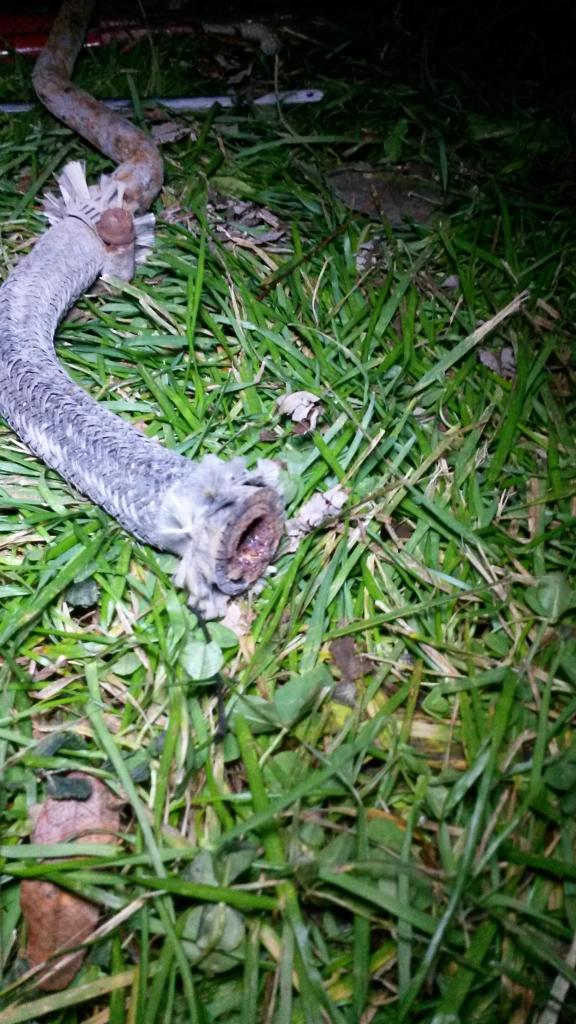
Heres what the valve for the vent tube (5/8") looks like on the tank:
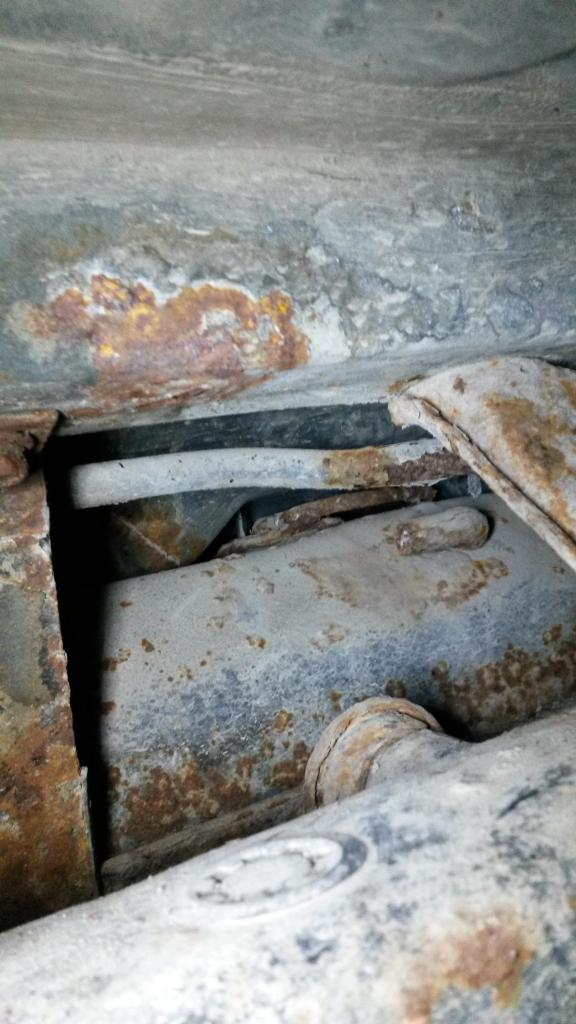
I dont think much fuel flows through here, most likely just pressurized fumes as a return
NOTE: If your not lucky like me and your vent tube is connected, good luck reaching back there to loosen the clamp without a car hoist. Be sure to have lots of BP Blaster on hand.
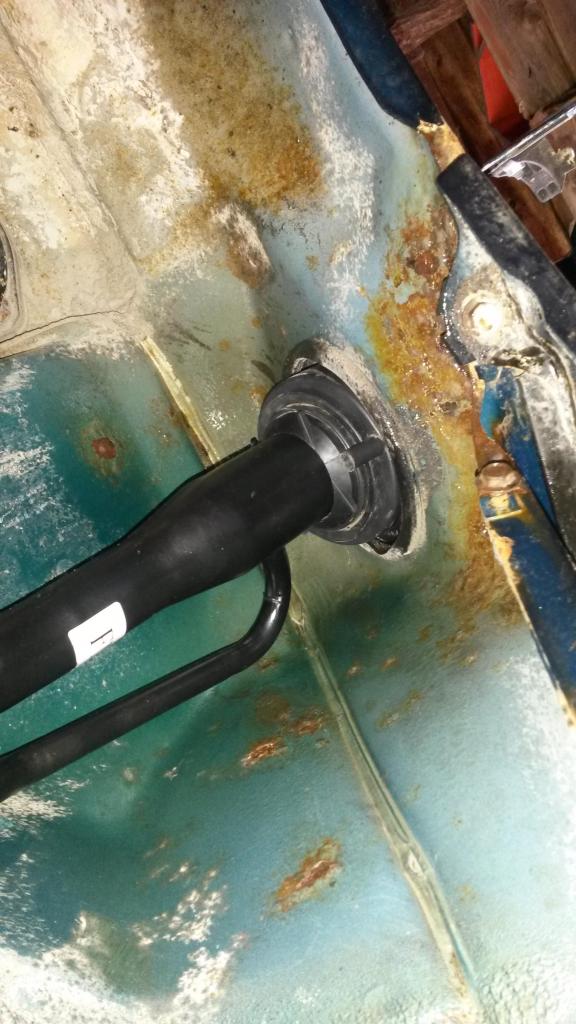
Now, to remove the fuel filler neck holder thing at the top by the fuel door, carefully remove the 4 screws then open the trunk and rip out all your trunk liner so you can access the fuel door open switch to hold it from spinning while you loosen off the nut holding the latch in place. once off, just pull through into the trunk and put the nut back on so you dont loose it. I was worried I was going to screw up the latch but it came out nice with no springs or anything popping out. Then you can pull out the plastic fuel neck holder.


Just like that.
Then with the filler neck mounting brackets nicely soaked in oil, carefully loosen them out. Mine came out pretty easily actually, but couldnt get the 14mm nut off holding the bracket to the frame but I was still able to open it enough to pop the neck out.

Then I had to try a combo of tools to loosen the hose bracket which ended up just being a pair of vice grips (couldnt find my pliers), then hit it with a wire brush and got a 10mm socket on it and it loosened off nicely.
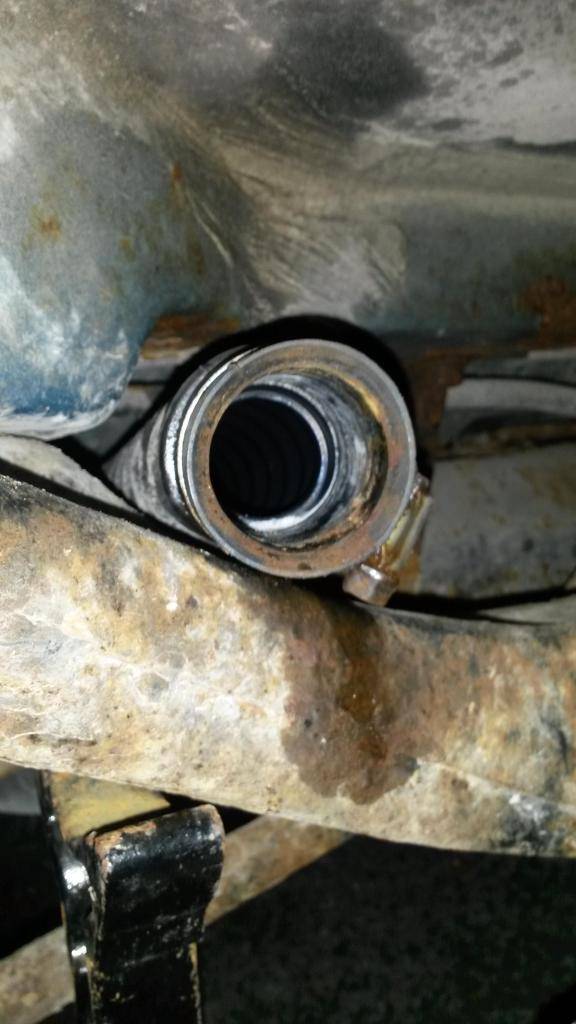
Then you can use some elbow grease and rip the %it#h out lol

Lets take a look inside:
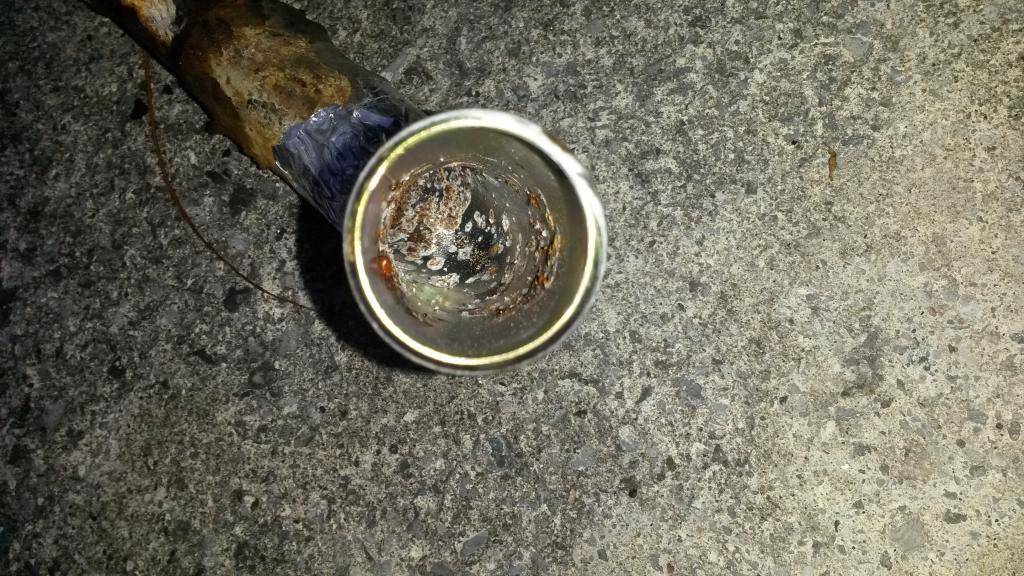
...hmmm iteresting lol
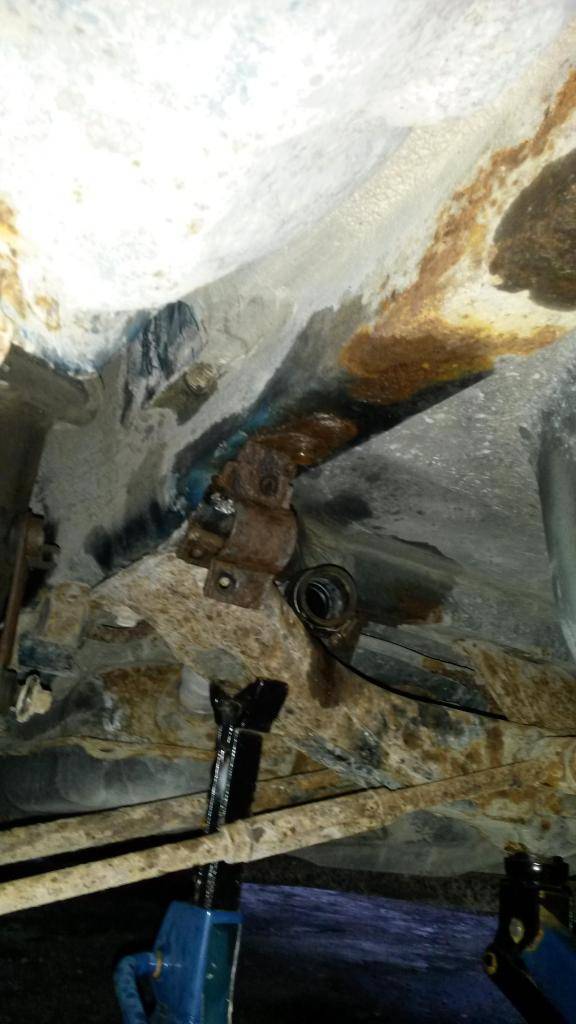
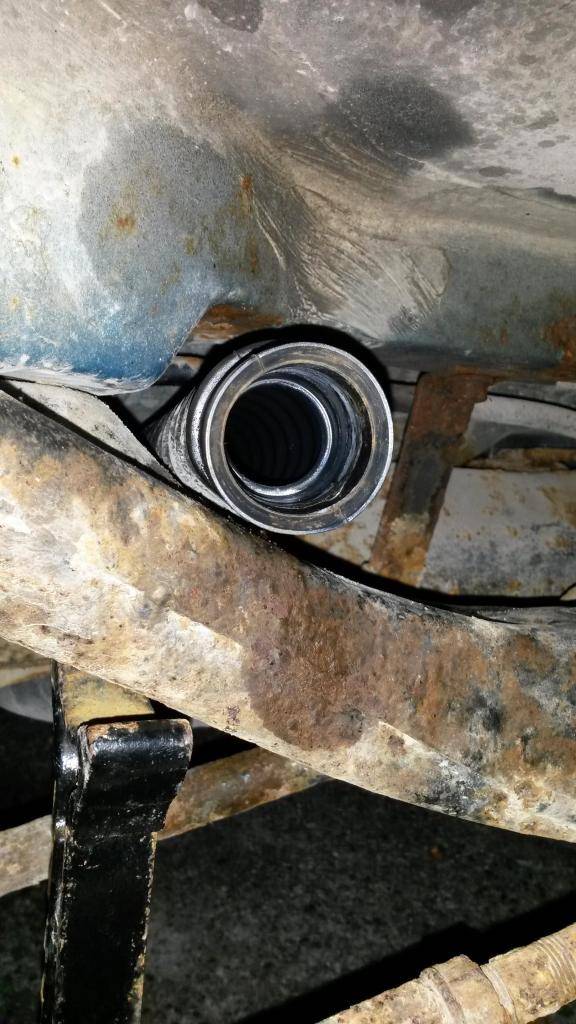
Hard to tell from the pic but with a flashlight, it didnt look too bad inside the hose so I just took some baking soda and water to gently wash out the rust on the inner rubber and dried with a lint free rag.
Im also going to get back in there with a wire brush and some degreaser to clean the top of the tank and anywhere I can reach to give it some rust protection.
I would also like to rinse out my tank before installing the filler neck. Anywho, this write up is getting pretty long and I still have to comeback and finish the installation write up lol.
OH and 1 more thing, I looked everywhere for some new 5/8" braided fuel hose but no one has it in stock so I decided to just clean and reuse mine:
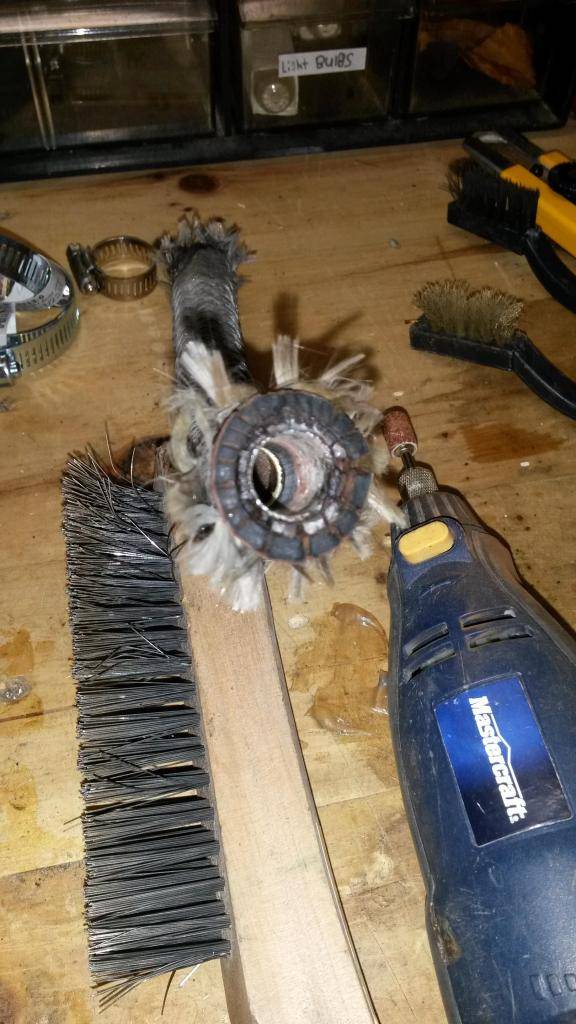
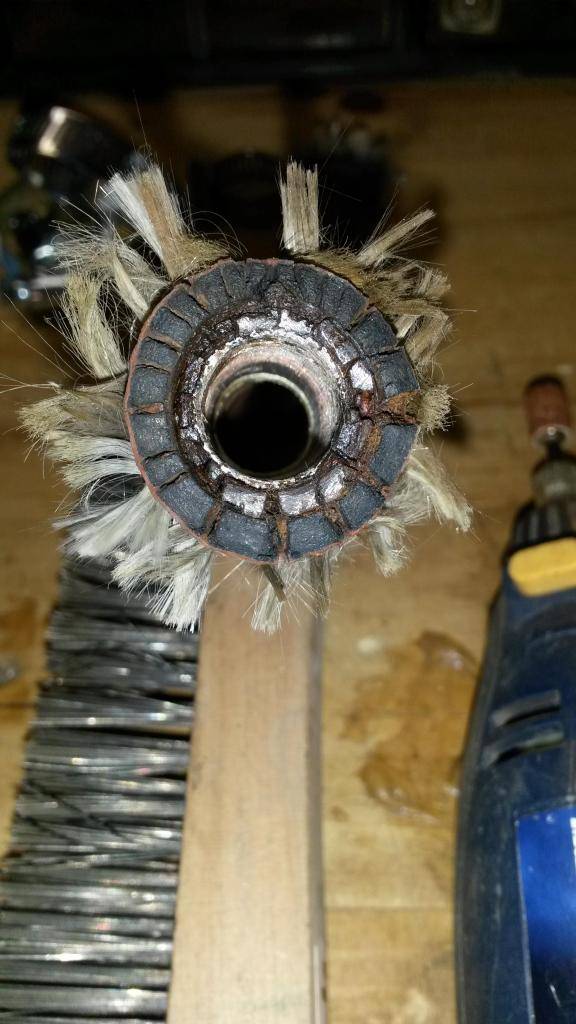
Hopefully this helps someone. There is also a youtube video of someone doing the same job which helped me a lot
PART DEUX coming soon ...... and time for part 2:
......................................................................................
After learning the bits of metal in the end of the braided hose were part of the tank and filler neck i then used pliers to pull and rip the metal out, then cleaned the remaining rust with vinegar and then water.
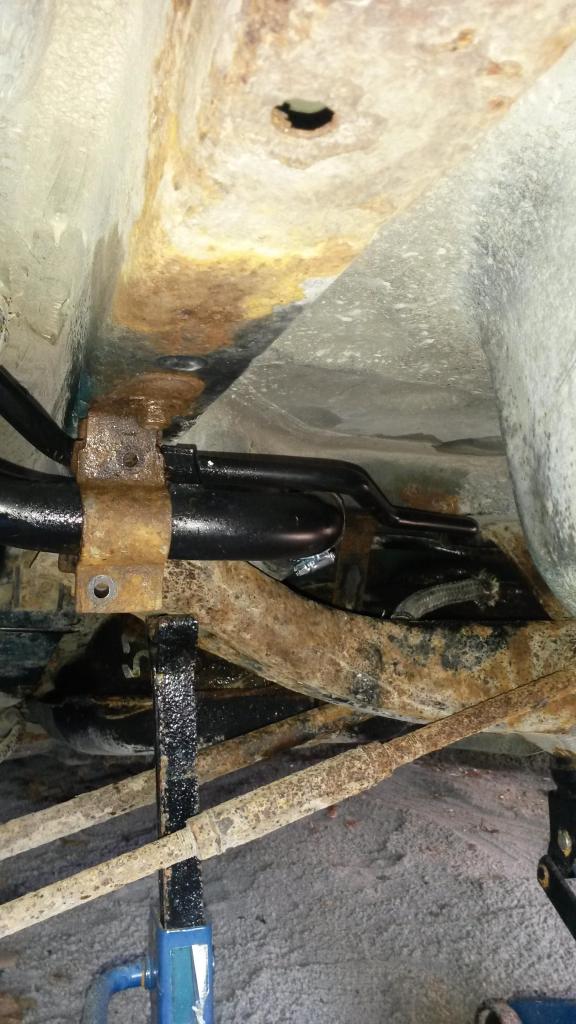
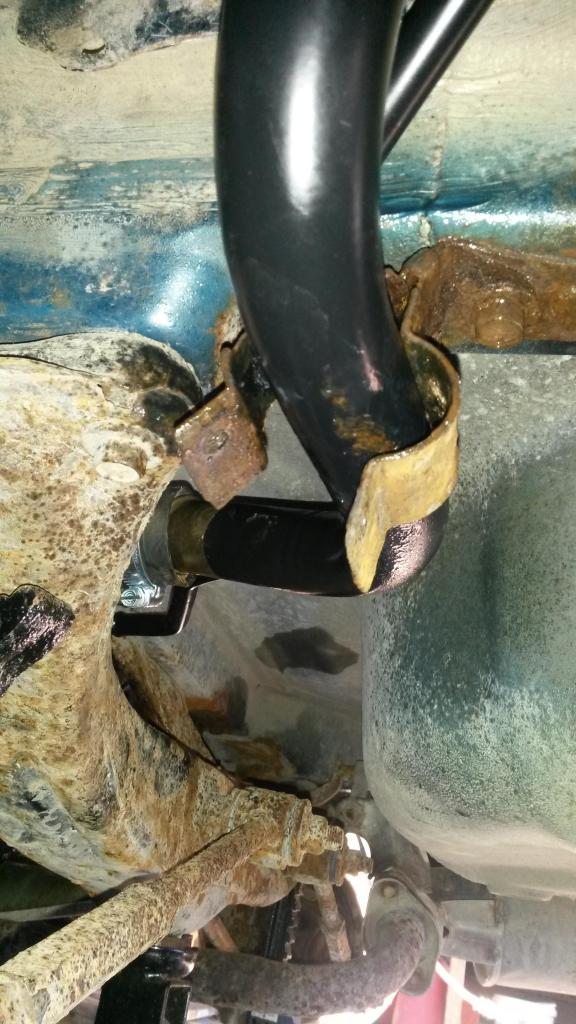
Now for the Installation of the New Filler Neck:
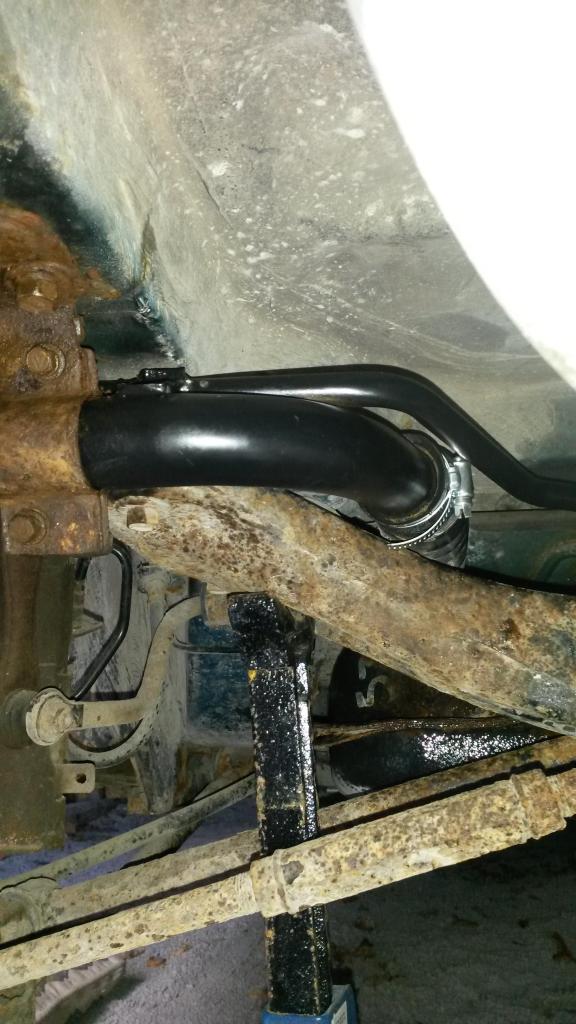
I connected the filler neck vent hose (braided) to the tank nozzle first. Then opened the filler neck clamp (attached to the frame) so I could position in the filler neck. The big tube of the filler neck only gets clamped and the vent tube goes around it. This job would be so much easier if you can remove the clamp from the frame rail (but i didnt wanna snap the bolt).
Once in position, connect your 2 hoses from the tank to the filler neck and tighten the clamps.
This Job actually turned out to be pretty easy, but stressful lol

