Well here's another Projector Retrofit. Since this was my first time i had
gold94corolla (aka Chris) help me on this since he suggested i try this out and i wanted to do the same thing he did with the a kinda stock look. but before i get started i just wanna let you guys know, i do tend to maybe explain things probably the wrong way or misinterpret or over explaining it, so there are different ways you can do this, but for now lets take the "safeway" or Paul's way. D: so lets get started.
First things first is the stuff you'll need for this retrofit. "JayDeeEm" headlights, Morimoto Mini 6.0 kit which includes stuff you'll definitely need (like h4 adapter plates), the projectors (you'll get them as a pair), shrouds (on the website you had a choice of 3 different ones so choose wisely), shroud rings. also you'll need is H1 HID Bulbs And Ballast, you'll also need is a dremel, black RTV, popsicle (or toothpick) pilers/channel locks/adjustible wrench,various size of flat head screwdrivers, a Phillips screwdriver(optioinal), a ratchet with a medium extension and a 10 mm socket(optional), a block of wood(depends on the size of your oven), alot of towels, magnet tray(optional), a bowl(optional), ziplock bag(optional), dark place outside and MOST IMPORTANTLY a well focus mind and self confidence. if you have all of those then we can move into getting preped.(Below is what i got since i did go and bought the h1 bulbs but reusing my old ballast )
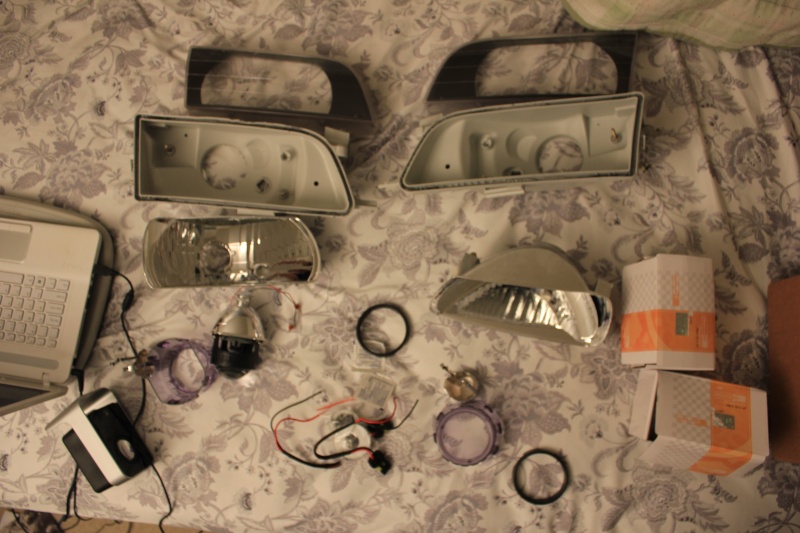
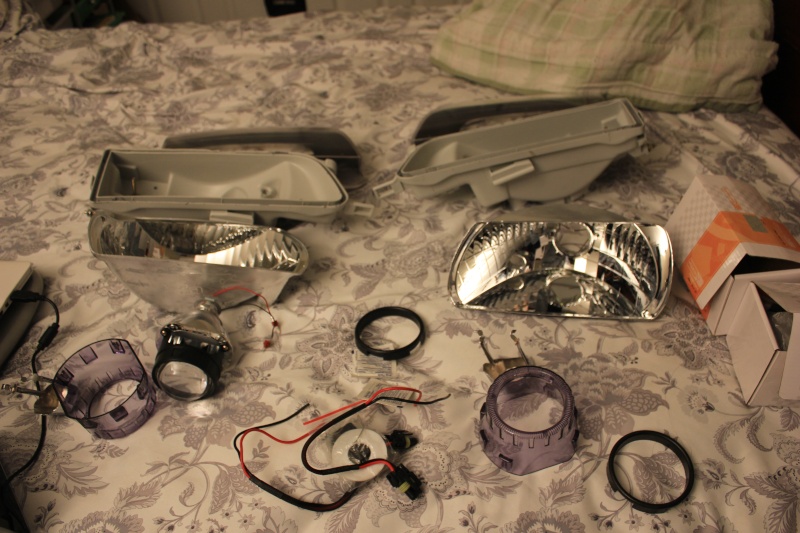
The reason i'd showed half in the of what i mentioned in the pic above is cause i took a pic of them same day i got them. so i got excited.
So i didnt know i was gonna need alot more stuff to do this.
To start pre-heat your oven to 200 degrees fahrenheit and leave it there! after preheating is done place your block of wood in any direction you choose. diagonally, vertically or horizontally. then after your placing your wood place one headlamp at a time in the oven on top of your block of wood (this prevents the plastic housing from being bent or deformed). then leave them in there for 10-15 or even 20 minutes (this depends on how old or new your oven is since the last retrofit DIY, Chris took his about 30 minutes or so.) after letting your house starting to smell like dirty gym socks take it out and put the other one in the oven.
Since your waiting on the other one start working on the one that you just took out. either have hand of Bruce Lee and take the lens out or pry is slowly and gently with a flat head screw driver.
once you opened the lens take out your other headlamp and do the same. then turn off your oven.
After doing that either get a ratchet with medium extension and 10mm socket or a Phillips screw driver and take out the 2 screws that hold the chrome shroud with the plastic housing in place. then take a small flat head and pry out the little 2 tabs that are on chrome shroud to take out the bezel.
once out should look like this on both headlamps.
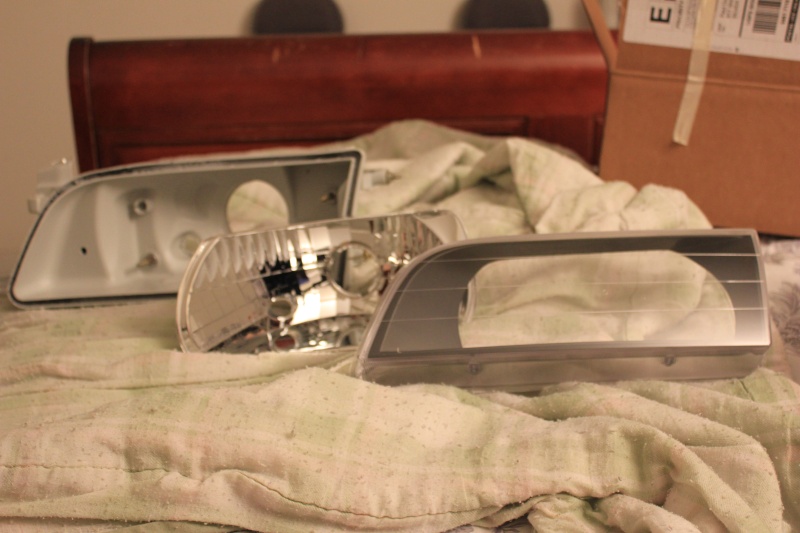
After getting this far this is where you start playing legos and have fun. first screw the chrome shroud back to the plastic housing. next get your projector take out the tiny phillips head screw (you can screw it back when you take out that plate but just put it somewhere your not gonna lose it like a magnet tray or a bowl or a ziplock bag)
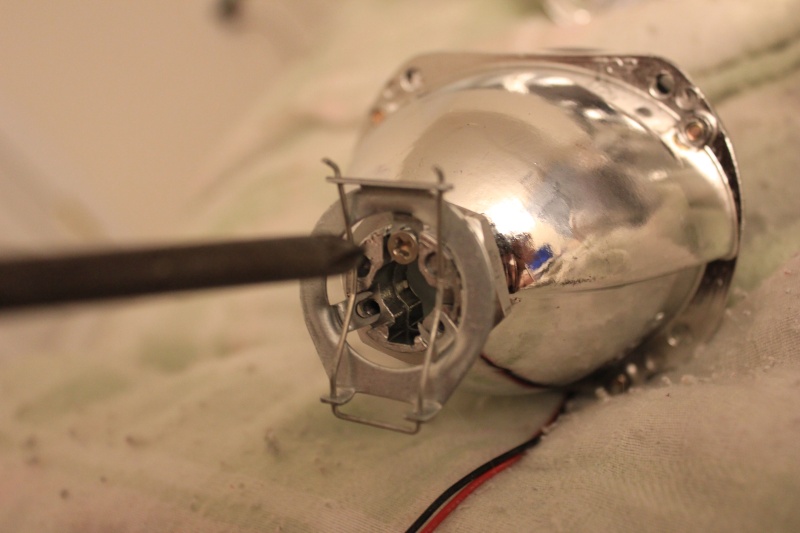
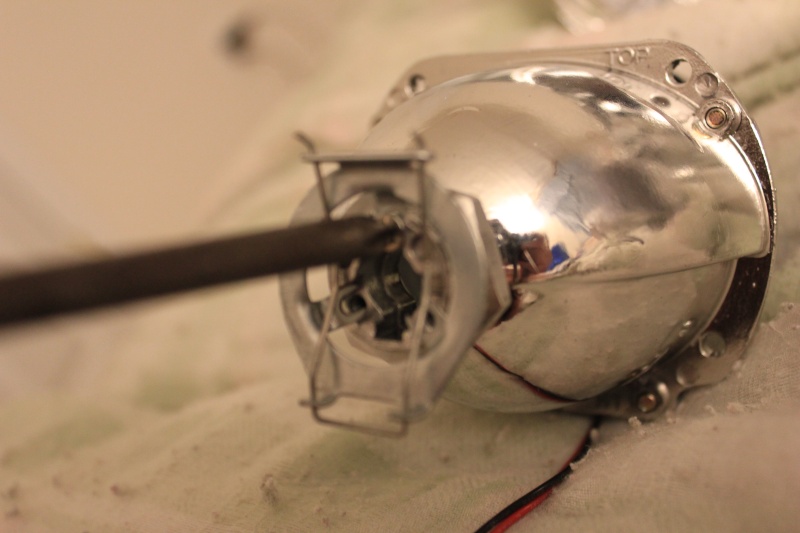
once thats done take out the unscrew the nut with your bare hands.
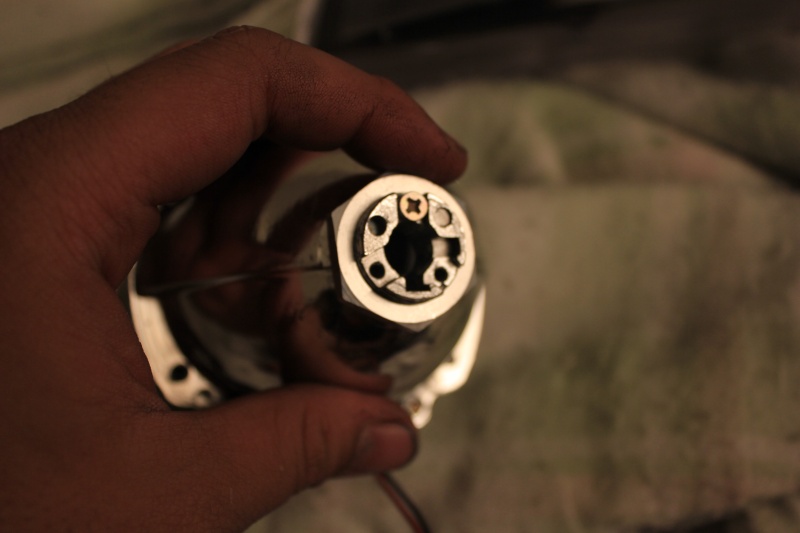
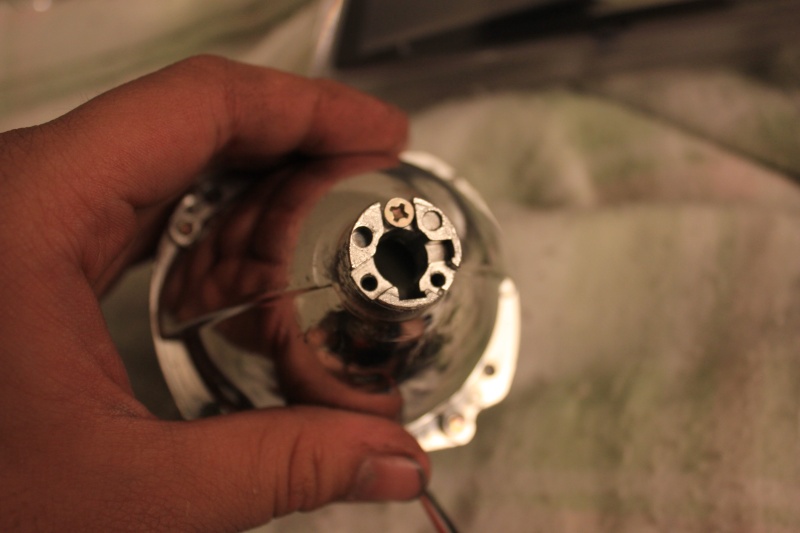
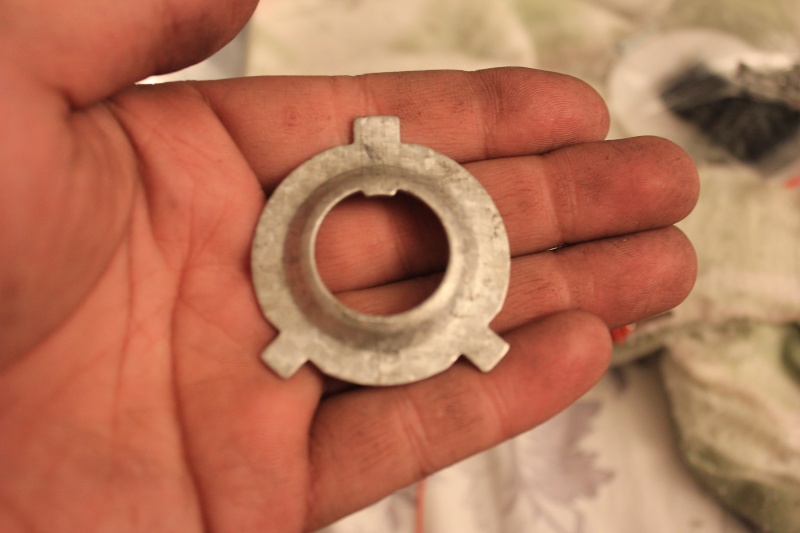
then get the little bag of stuff and then crack out your dremel and trim the guide on the h4 plate that they provided as this deems pointless ( i'll show you why later)
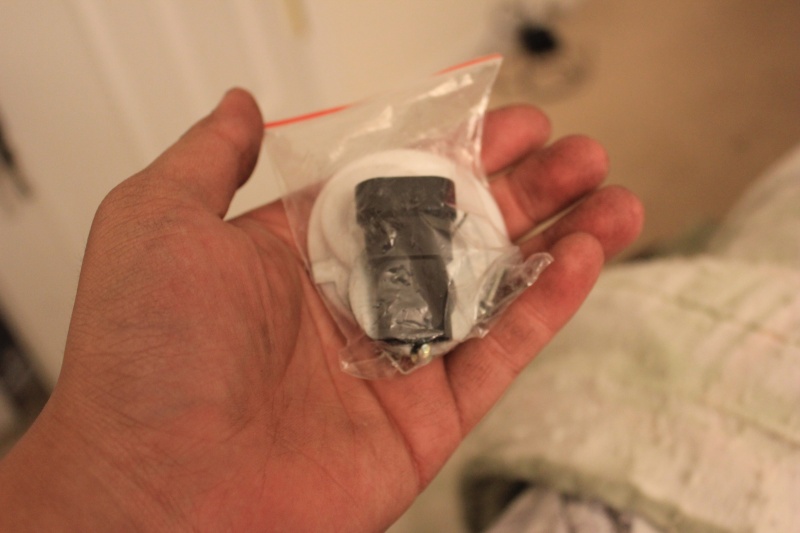
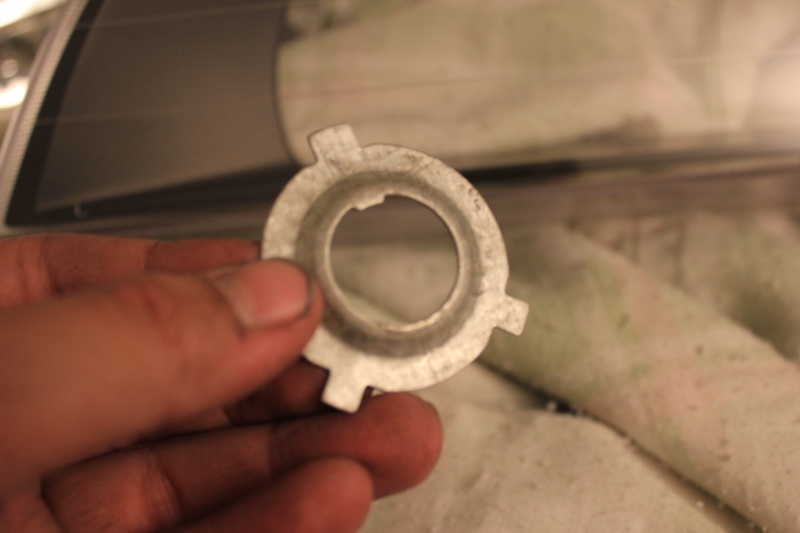
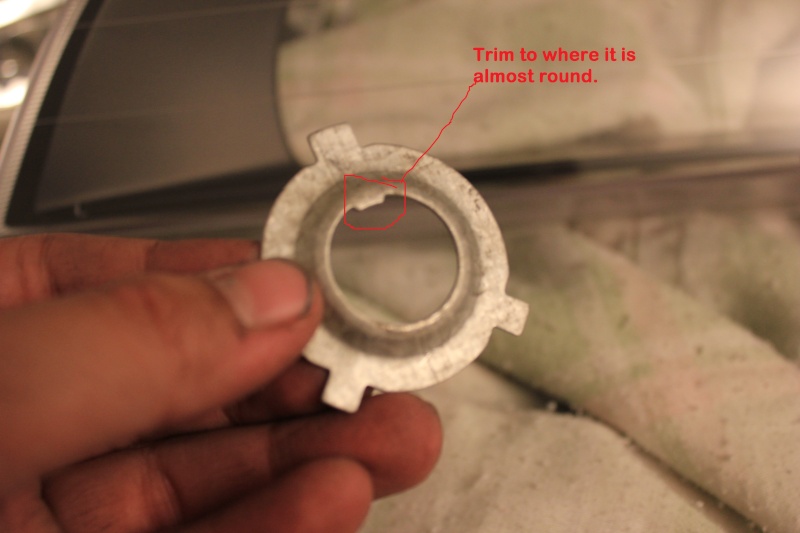
after that place the h4 plate on where the the h4 headlight bulb was gonna be
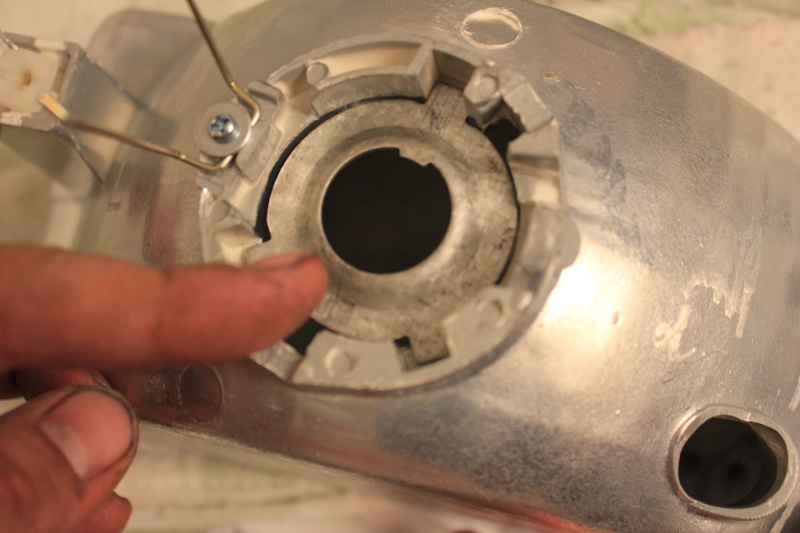
next place the small silicone ring on the projectors and put the projector into the shroud but be aware that there is a red and black wires comming from the the projectors be luckily they provided a hole for them to go through. after that screw the huge nut back and put the hinge on the h4 plate securely like you would on a h4 bulb. then after do the same thing on both sides.
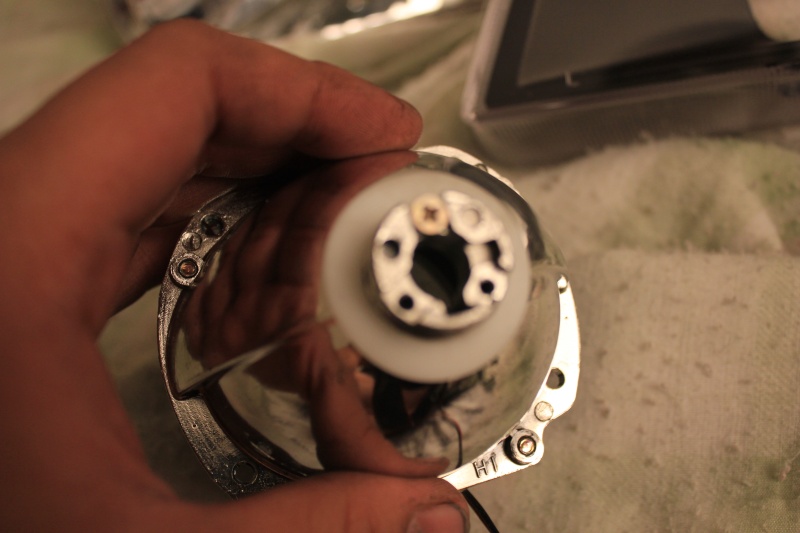
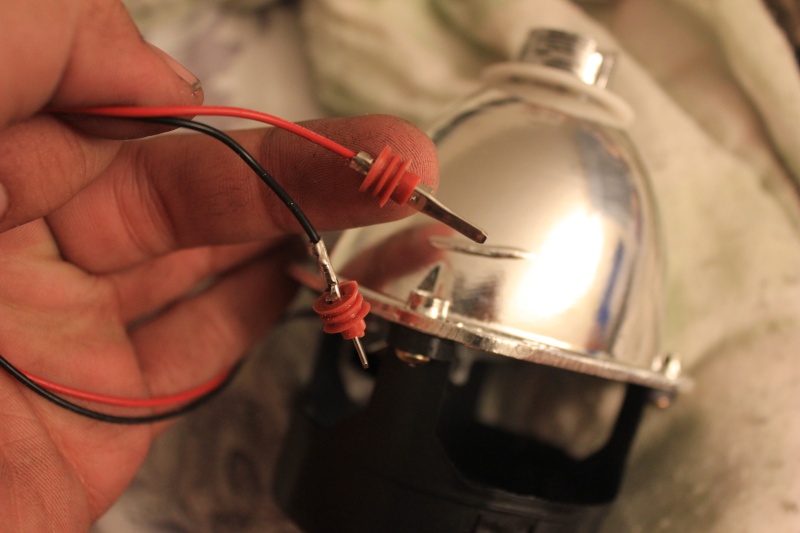

so it should look like this or better!(yes this doesnt have the plastic housing together yet (just wanna show you guys how it looks like w/o the housing.))
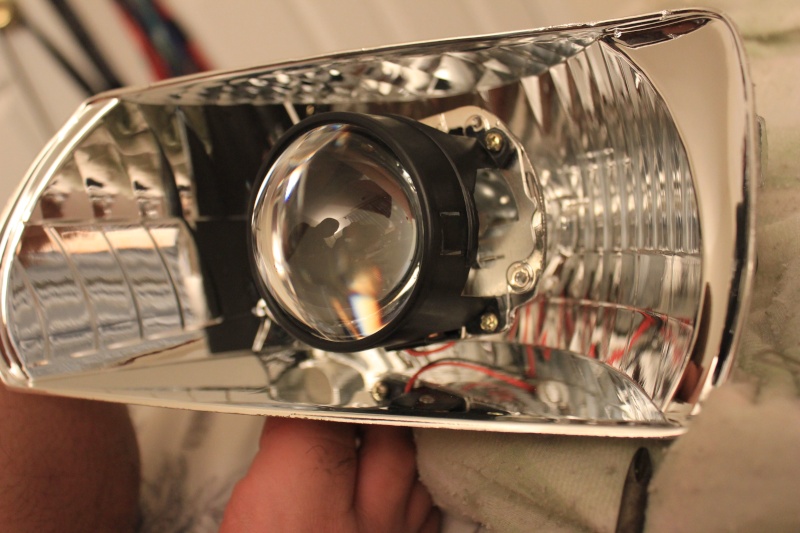
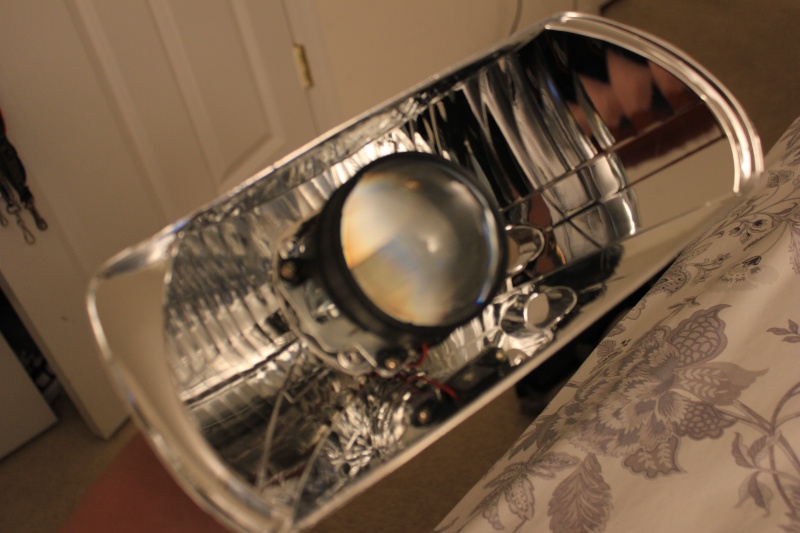
now is the testing phase
go out side a park your car near a blank wall or garage door and start putting things together (HID bulbs, ballast and high beam socket)
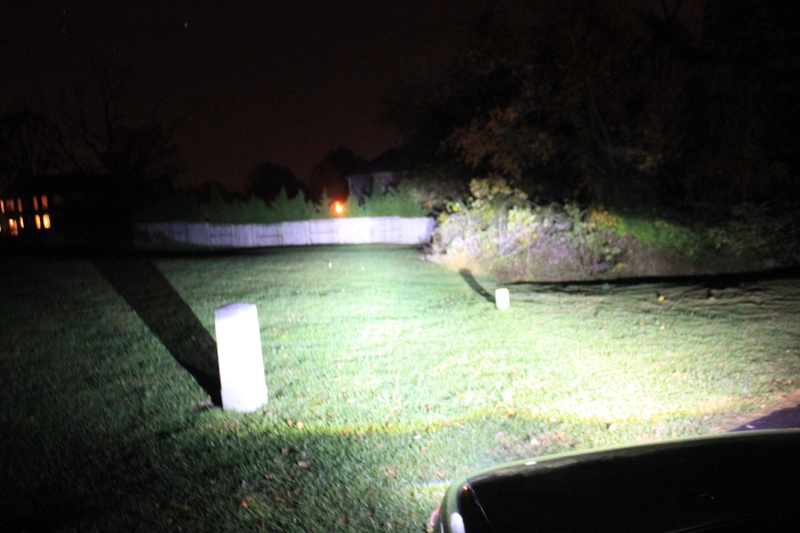
now when testing it should look like the this

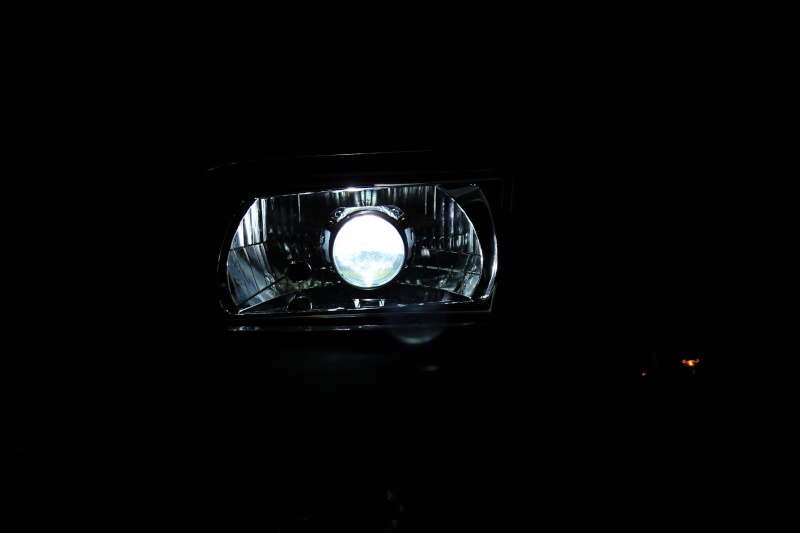
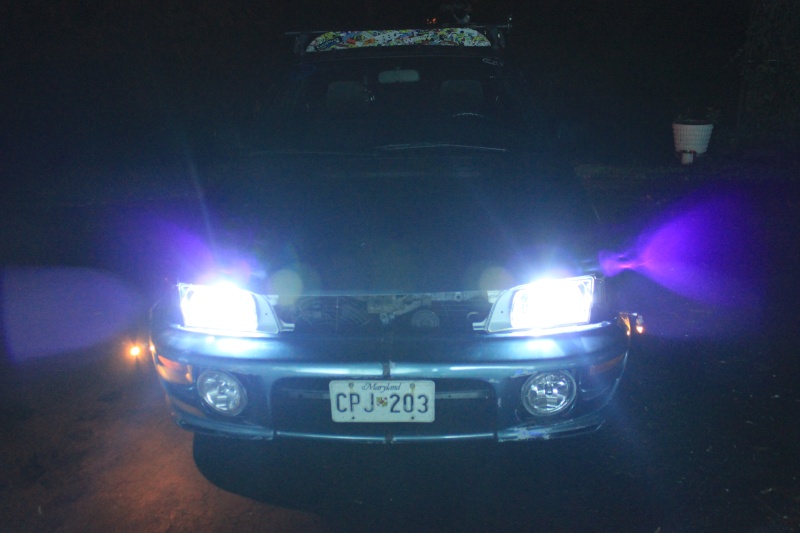
but now if you guys didnt cut the little guide like i did mentioned earlier this is what it will look like (low and High beams on)
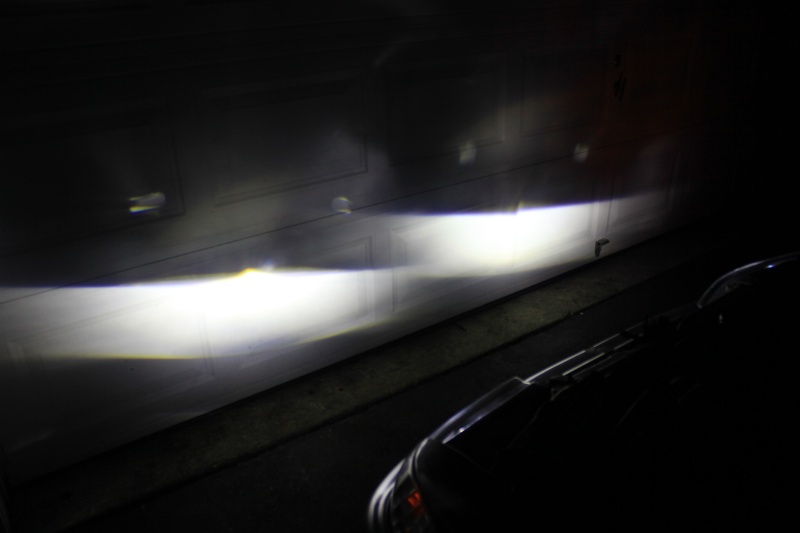
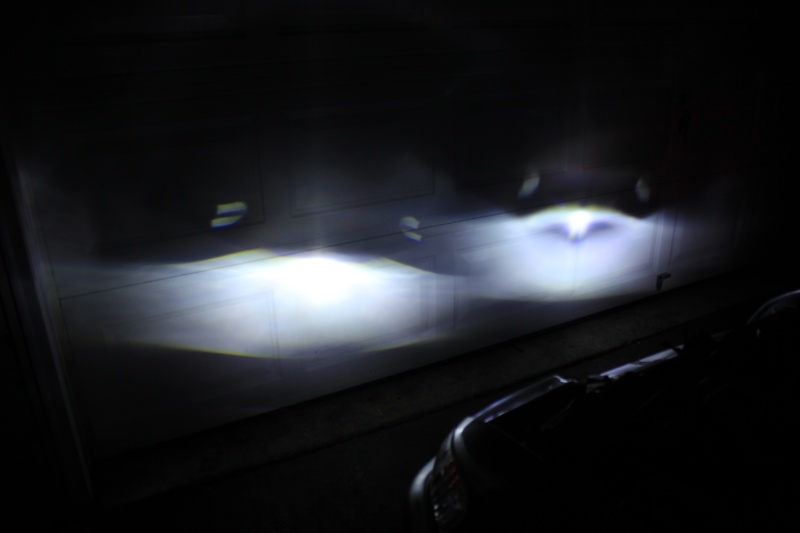
now this is where pilers are gonna be needed. so take out one head lamp (left or right) and take out the h4 plate. do small bends at a time. as each bend you have to go back and mount everything back on and test.
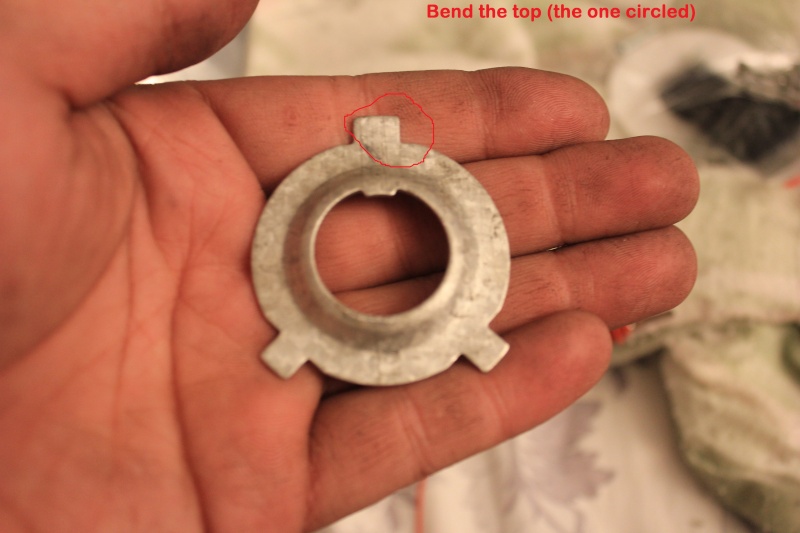
after that it should look somthing like this (low and high beams)
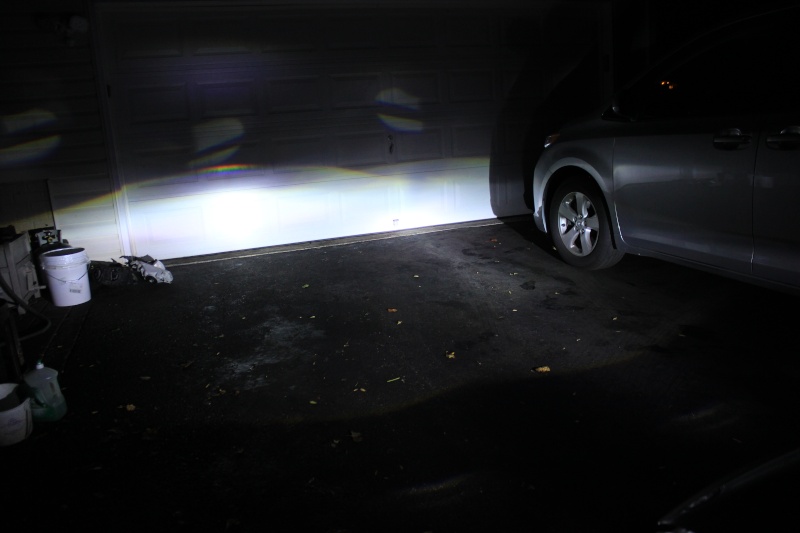
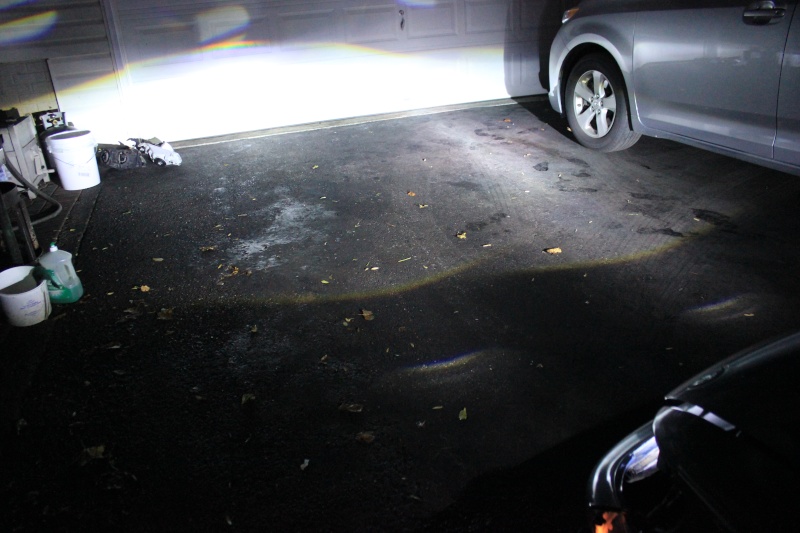
heres a better view(i guess) (high and low beams)
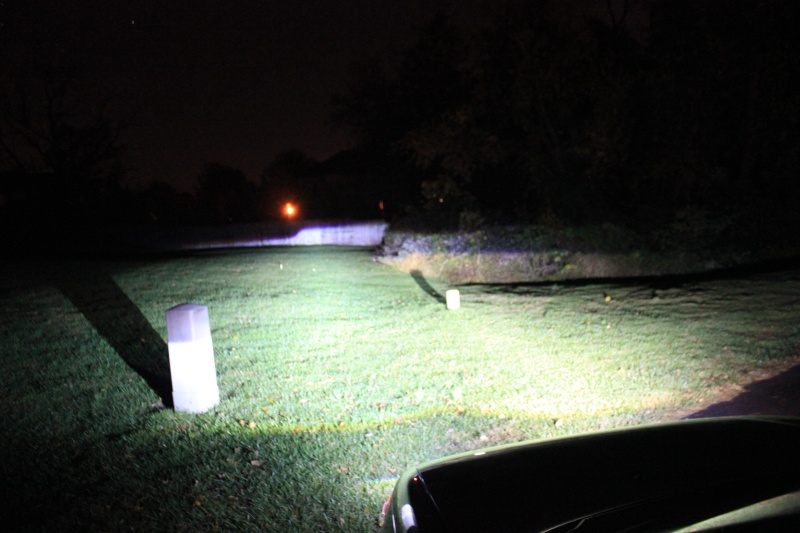
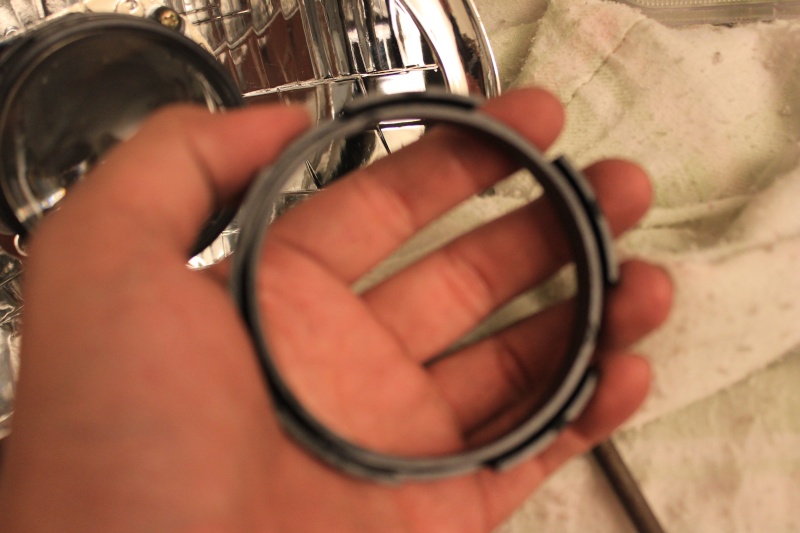
after modding and testing the h4 plate you can go ahead and put in the centric rings and shroud on. Note the shrouds and rings do fall off so its a good idea to put some RTV where they touch and let them cure a full 24 hours
(ps i got these shrouds cause i thought they looked cool.


)
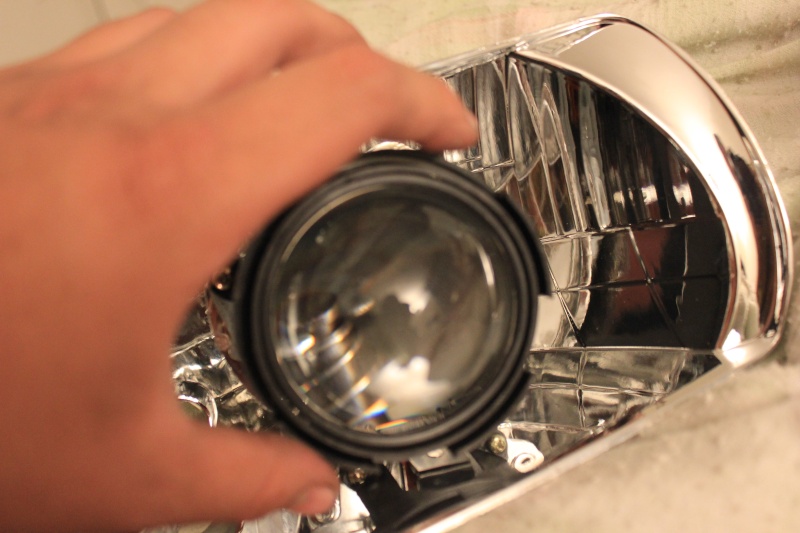
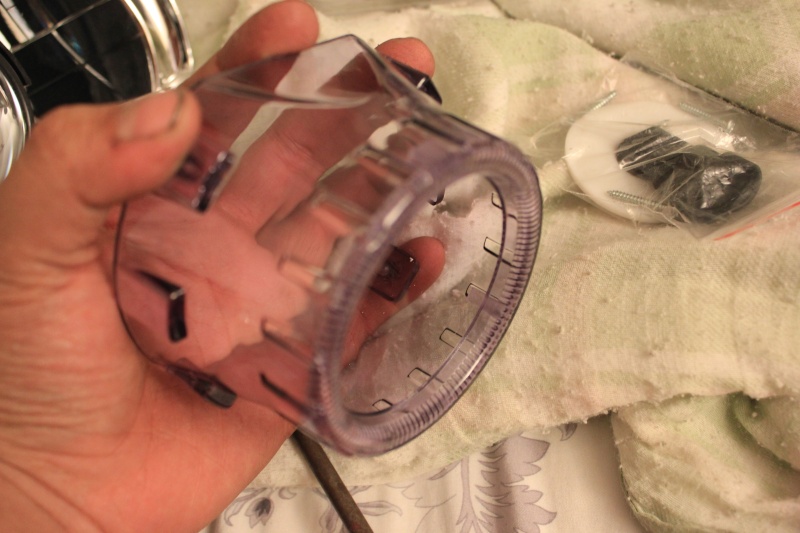
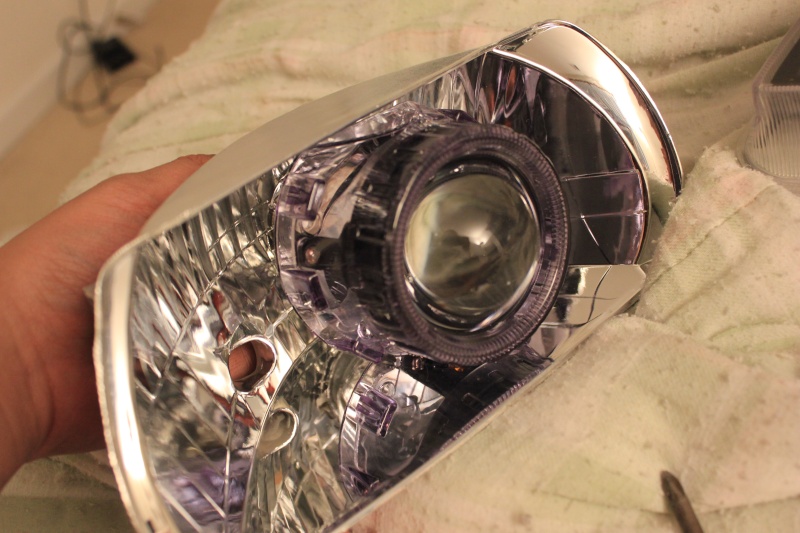
after curing process is complete go put everything back and then you have your finisihed product.(corolla car porn)
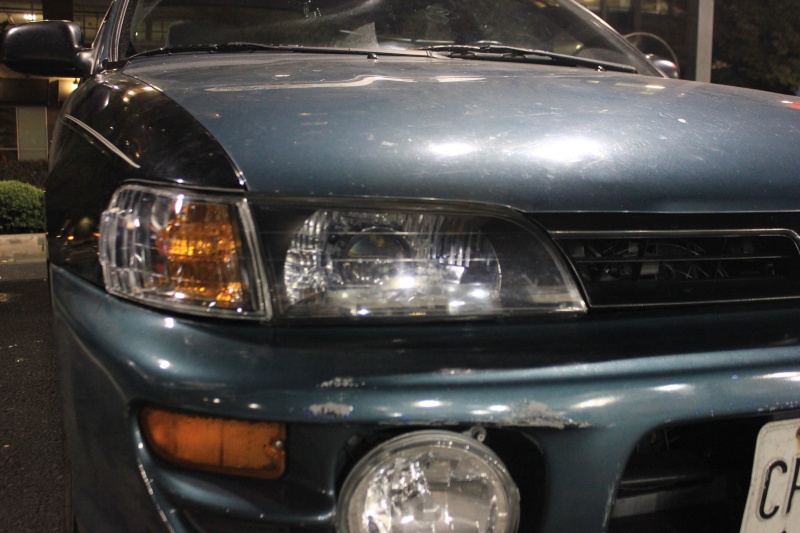
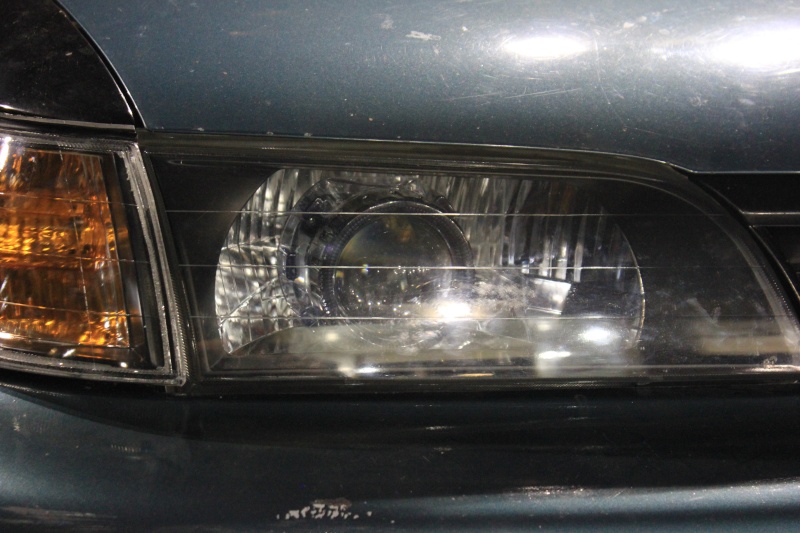
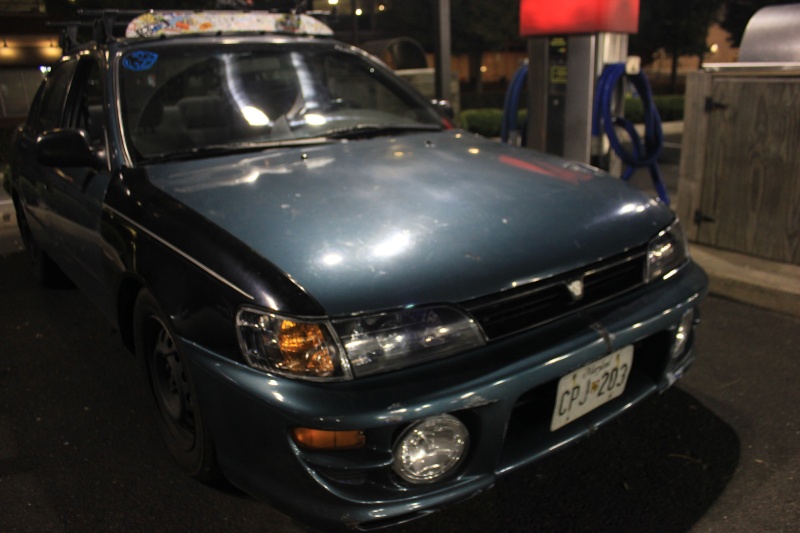
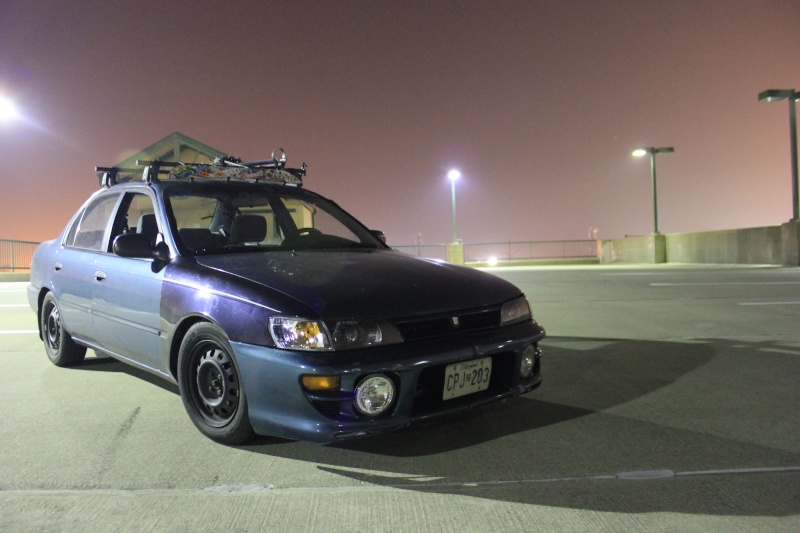
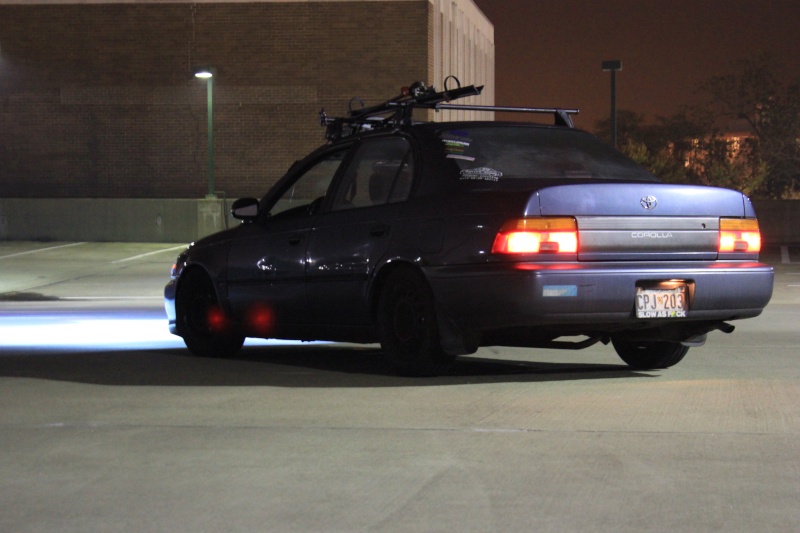
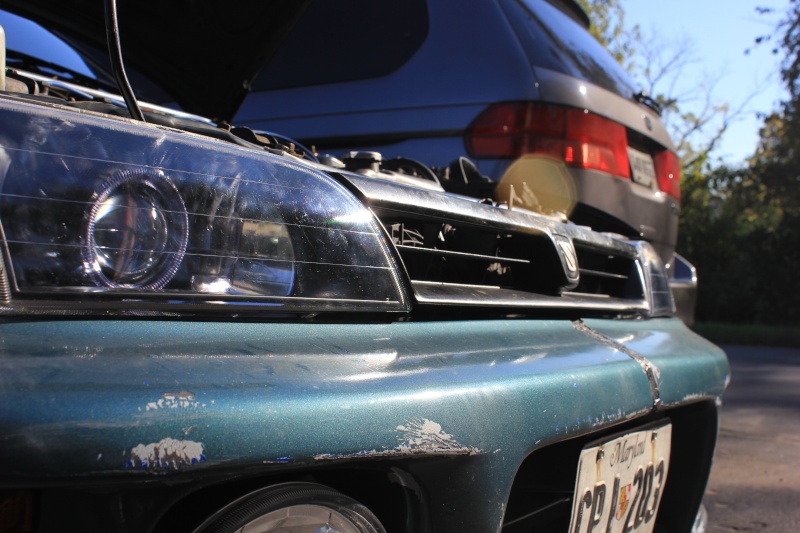
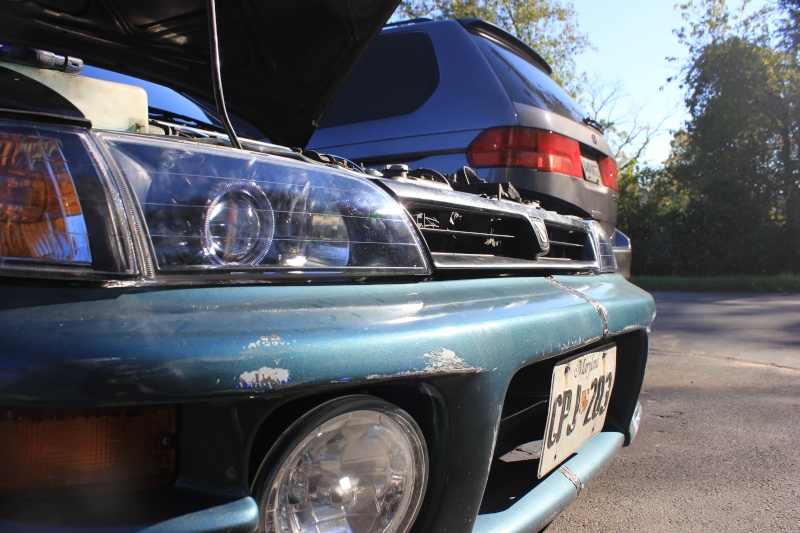
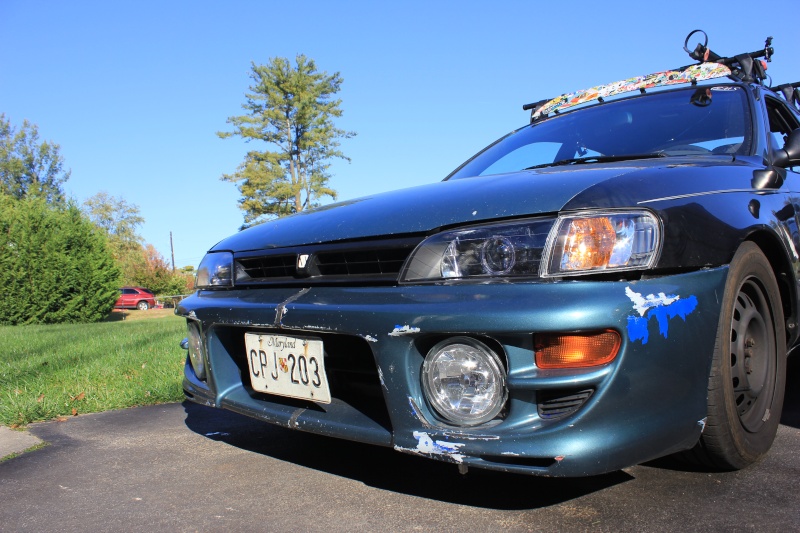
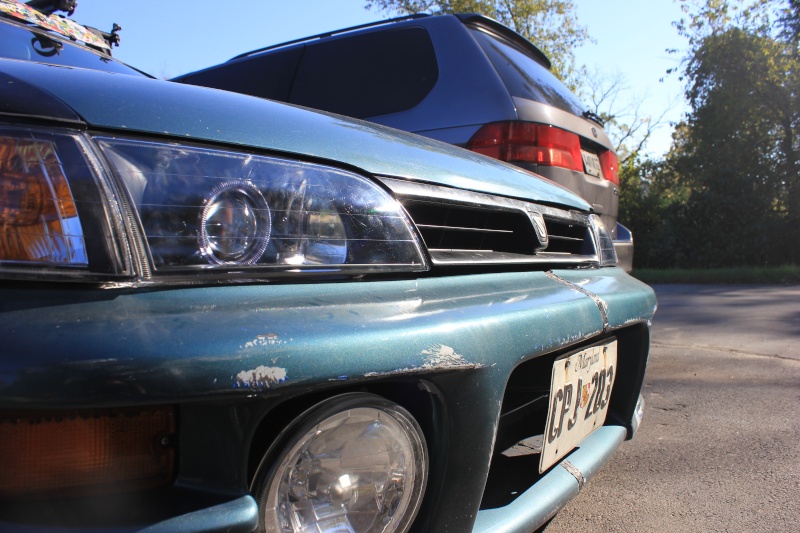
ps if your projector seem to shake while driving or hit a bump its normal. (according to chris anyway.)
