Well here's another DIY Project you guys can do. Since this was my first time doing this i want to explain, before i get started, i just wanna let you guys know, i do tend to maybe explain things probably the wrong way or misinterpret or over explaining it, so there are different ways you can do this, but for now lets take the "safeway" or Paul's way. D: so lets get started.
Tools your going to need are:
measuring tape (ruler is acceptable)( also important as it is need in one or multiple steps)
philips head screw driver
flat heat screw driver
10mm socket (3/8 size is preferable)
12mm socket (3/8 size is preferable)
14mm socket (3/8 size is preferable)
bolts*
sockets**
ratchets**
wrenchs**
Medium size ratchet (3/8 size is preferable)**
Long size ratchet (3/8 size is preferable)**
cutting wheel (aka death wheel) (electric powered or air powered)
your aftermarket bucketseat(s)
sheet metal (6-4 gauge)
sheet metal brake machine***
an assortment of drills ranging from small to big
toothpaste
needle nose pliers (optional)
table vice (optional)
center punch ****
pointy punch & hammer ****
prybar (optional)
pb blaster or wd40 (i used both lol)
factory OEM seats (in case you dont wanna sacrifice your own factory seats)
Blue loctite
dremel(rotary tool) with sanding attachment or sand paper
time and patience
(* bolts are needed if your aftermarket bucketseats dont or didnt come with any)
(** applies to the * above because size of bolt may vary on size of socket or wrench needed)
(*** only applies if you dont have a metal sheet brake, you can find a metal shop that can bend it for you)
(**** only apply if you have either one, if not you can go to a local mechanic and see if they can help you out, also applies of you have friends or neighbors or other automotive related shops if they can lend you a center punch or hammer)
*Note I've already done this on the driver side so I'm writing up for the passenger side but same steps for driver side aswell, also I'm a year and some months late on writing this up so forgive me if your putting a 10mm socket in to take out a 12mm size bolt out, its been a while so i have to remember stuff lol*
First thing is your sacrificial seats, either your factory seats or another AE seat from the junk yard is fine.
first take out the bottom portion of the seat with by taking out the plastic trim with a philips head screw driver, after taking out both sides out with a 10mm socket go ahead take 1 bolt out from both sides that was under the plastic cover and 2 bolts that are at the bottom of the seat

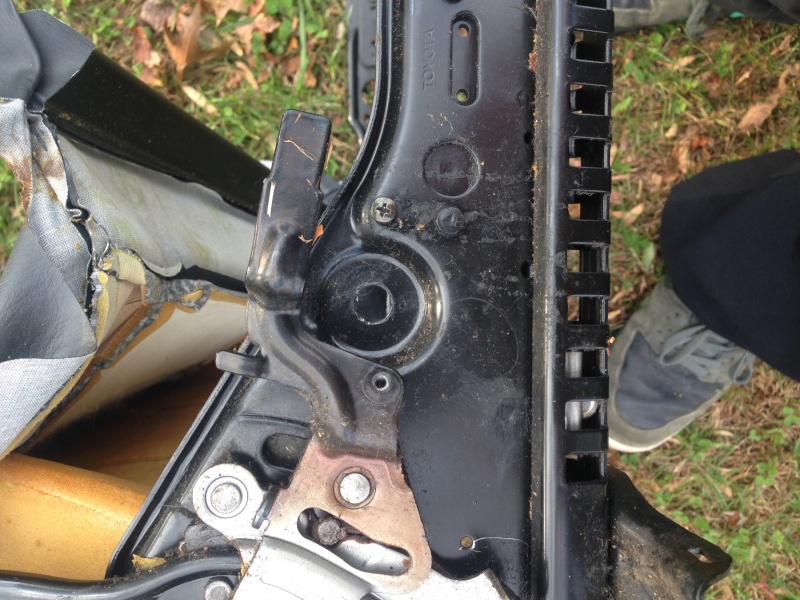
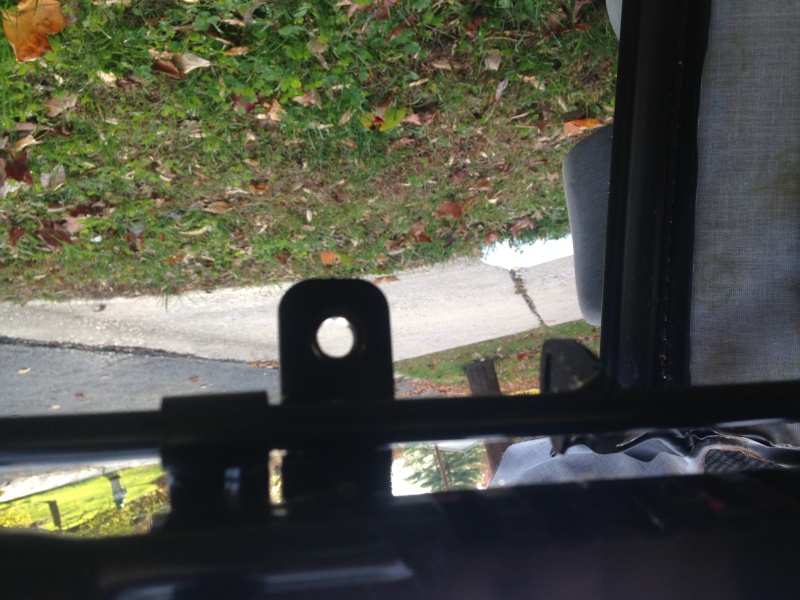
after that there are gonna be 4 more bolts, 2 on each bolster. to do this you are gonna have to wiggle the skin of the seat up, it is gonna to be hard to take out and you may slip or hands may slip so use caution. after that you have 2 bolts revealed, remove 2 bolts on each side with a 12mm socket.
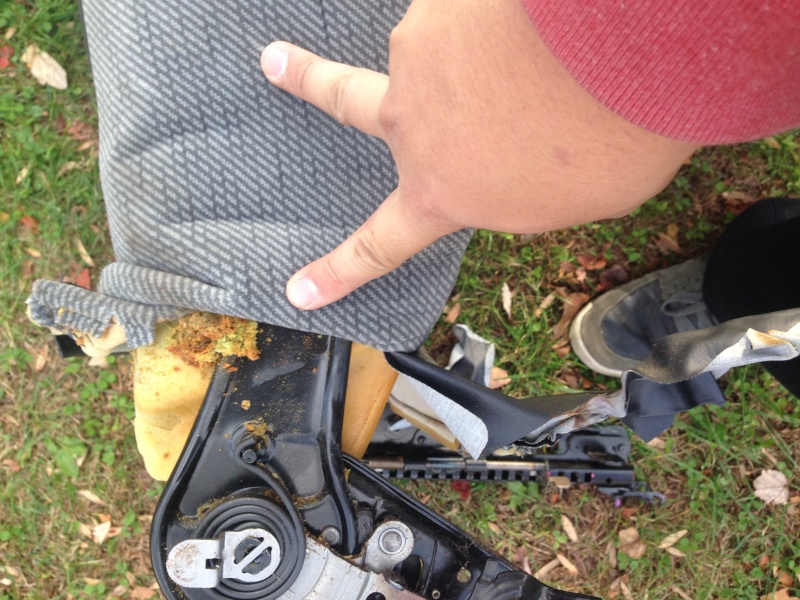
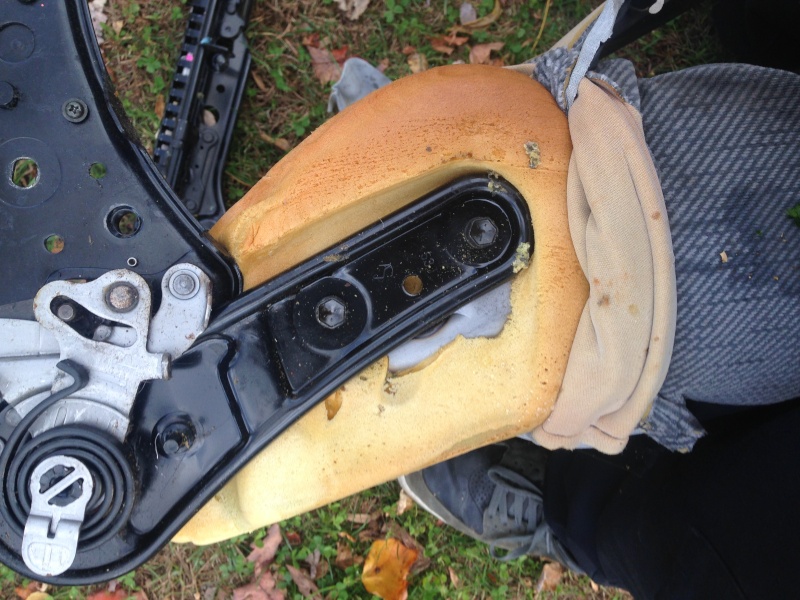
now the remaining guts should look like this.
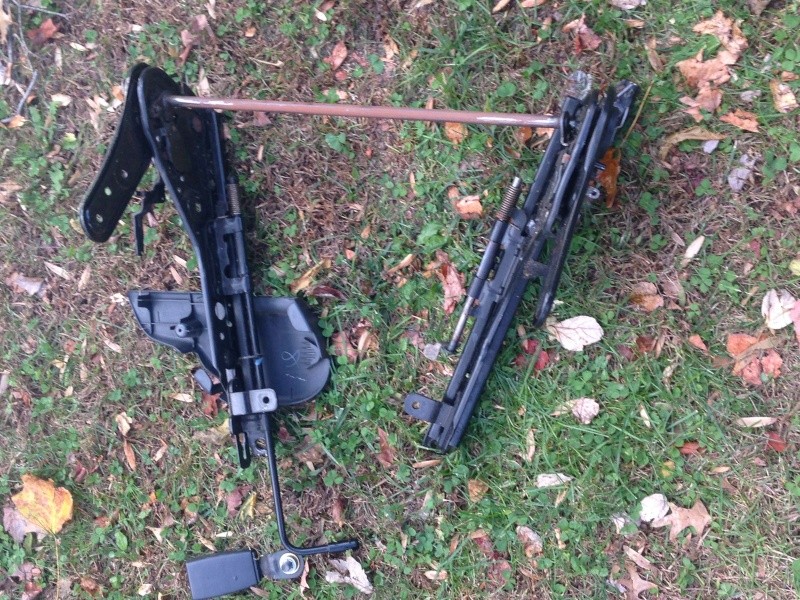
remove this middle piece by using a phillips head screw driver.
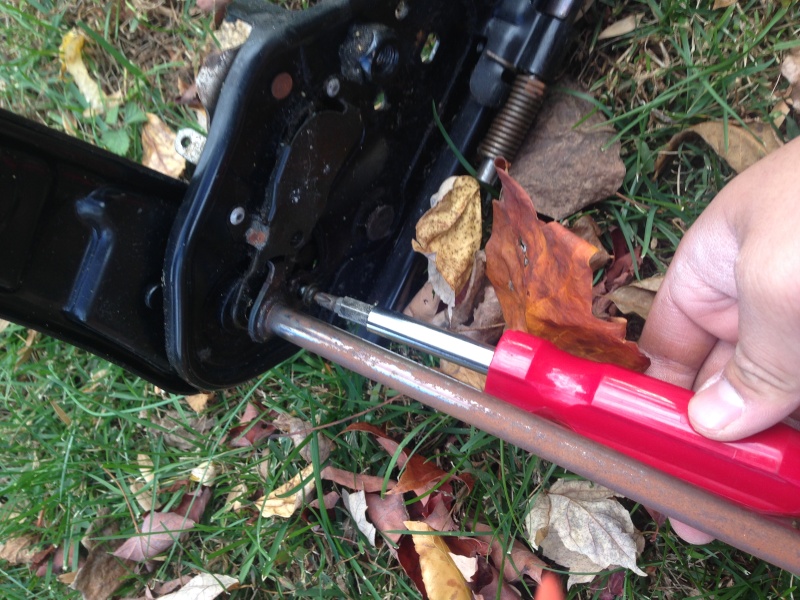
now from this point there is
NO RETURNING BACK! (unless you have what i told you which was to get a extra corolla seat(s) from the junk yard.)
from here on i'm going to use some of the same pics to help explaing some of it so try to stay with me cause it maybe hard to explain. also i dont have many pics of this diy but i will update later this later week.
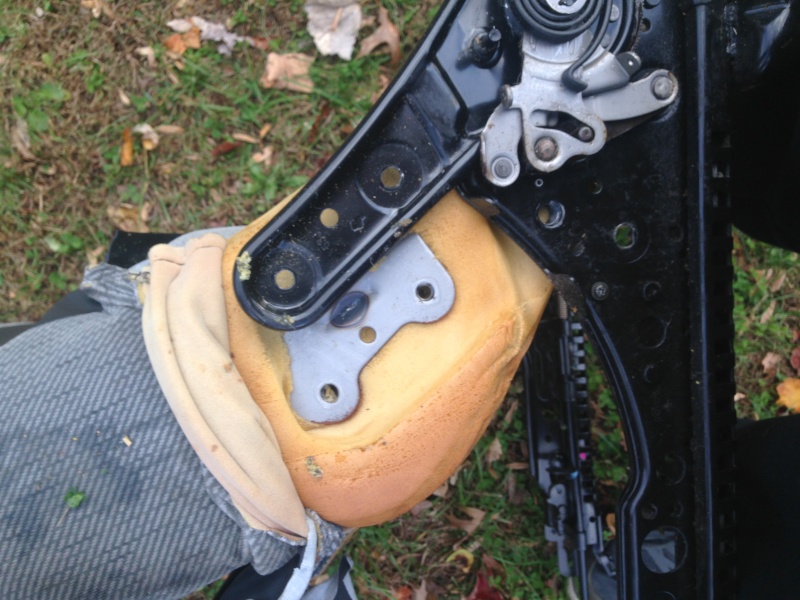
now below in the picture what i circled in red, your going to need that piece for both sides and in order to do that your gonna have to cut into the foam of the seat to get to it. i ending up cutting straight into it with a cutting wheel (or what i call it the death wheel) becare as the foam does burn and melt so dont breath into it while cutting it!
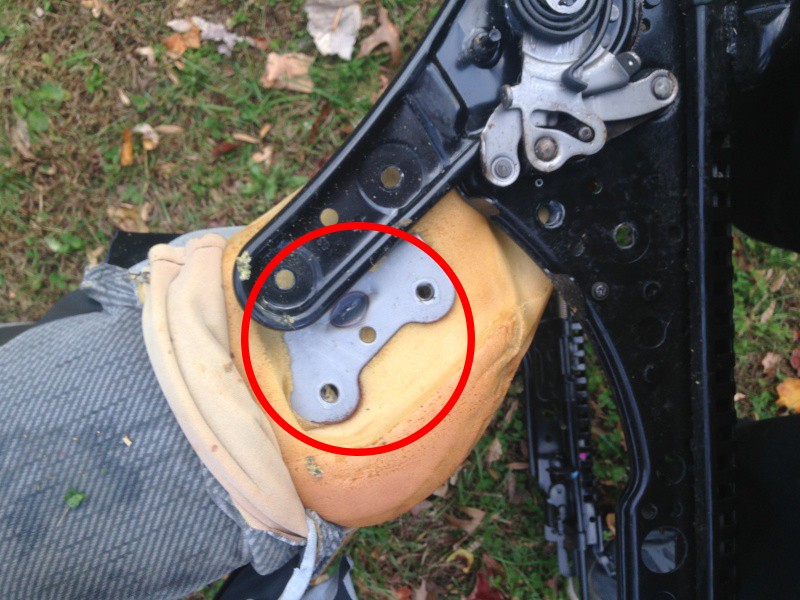
once you have those cut put them out to the side cause your gonna need them later. once you put them aside
your gonna need to remove that spring (picture 1) and bolster mounting bracket(picture 2). to remove the spring carefully pry it up with a flathead screw driver (or an actual prybar.) then whatever that is attached to the spring your gonna have to cut the pivoting rivet that lets the seat fold back and forth, but please use caution when cutting around it (picture 1). while on the subject of cutting also cut off with the spring and the bolster mounting bracket as it is not needed (picture 2)
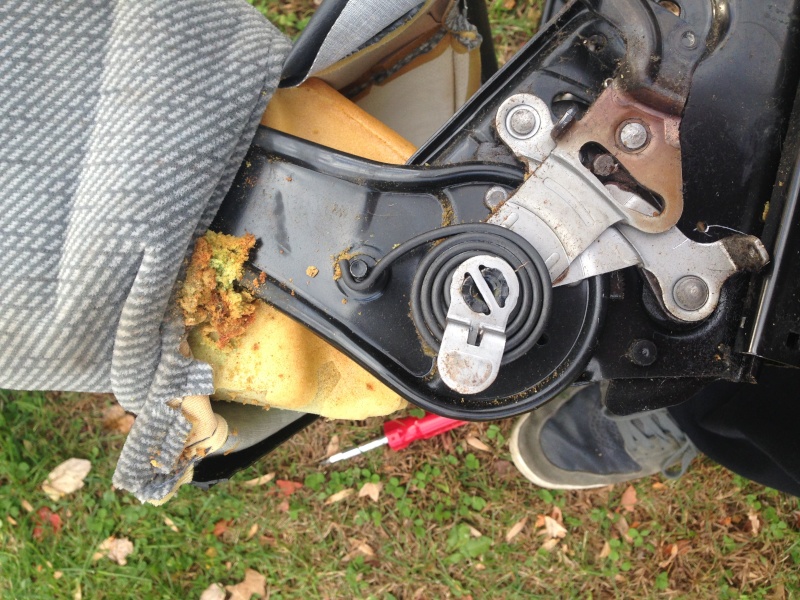
(this step is out of order will fix later this week)
so for now you should have the bottom of the seat brackets and what should be left of the seat bracket and sliders. now here is where some needed precise measuring is gonna be needed. go ahead and bolt up whats left of the seat mount using the original brackets. once bolted back get your sheet metal on start measuring. your gonna need a 90 degree bend brake obviously but measure from the left side of the bracket to the right side making sure its currect, so measure twice, cut once. Once cut and measured place a small dab of toothpaste (probably a fingernail sized amount should be okay, put more if needed) on the front and back of the bolt holes at the bottom of your new aftermarket seats. this will help determine where the seat is gonna be bolted up. please do match the bolt holes in the front first (if possible to match up.) if the bolt holes in the front don't match up but the tooth paste made contact with the mounting bracket measure again and use a center punch/punch to make a dent and to start drilling the front. as for the back, this is gonna be tricky as this also gave me issues as well, so you doing it at your own discretion is advised and optional to try out but i would suggest try following me as how i handled this situation.
what i ended up doing was i measured precisely where the new seat was going to be facing make sure the position of the seat is facing is correctly, then used the metal brackets from the seat bolster i saved, measured where they were gonna be mounted, center punched it then drilled, then from there i center punched again where the seat mount on the seat rail drilled through on the seat bracket. then using the bolts i saved from the bolster bracket i put a liberal amount of blue loctite and bolted them up.
Once done it should look ready to sit on!
